| Products Quality Guaranteed |
+(66)982510158 (Thailand) |
Retail & Wholesale |
|
|
 |
|
|
|
|
|
| HOME |
|
Review |
How to Install |
Contact Us |
|
|
|
|
|
Installation Steps for 3D Wall |
|
|
|
Tools & Materials |
|
|
|
|
|
|
|
|
|
|
|
For 3D wall installation, we need to get the following:
- Measurement tools i.e. steel tape measure and bubble level.
- Cutting tool, circle saw recommended.
- Construction adhesives
- Acrylic Sealant optional but recommended to finish works seamlessly.
|
|
|
|
|
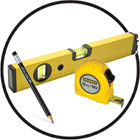
Bubble level
Steel tape measure |
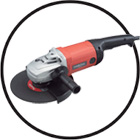
Cutting tool |
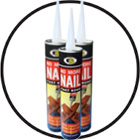
Adhesives |
Acrylic sealant |
|
|
Bubble level
Steel tape measure |
Cutting tool |
|
|
Adhesives |
Acrylic sealant |
|
|
|
|
|
|
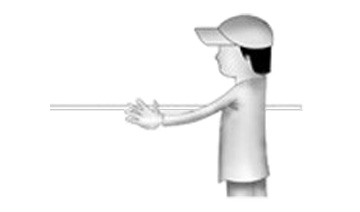
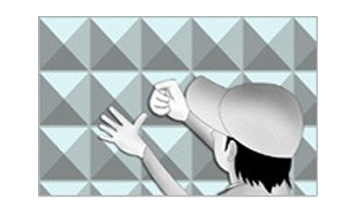
Measure the wall to plan the installation.
|
|
|
|
|
|
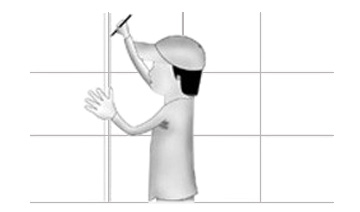
Draw the lines to make a layout.
|
|
|
|
|
|
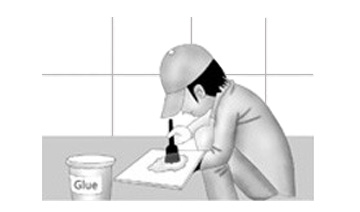
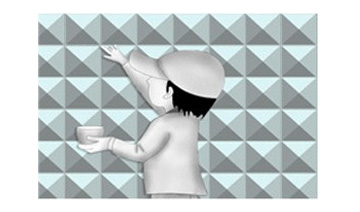
Apply the adhesive on the back side.
|
|
|
|
|
|
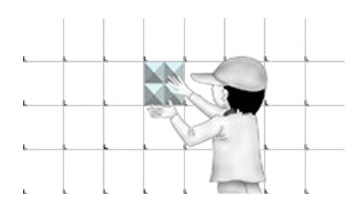
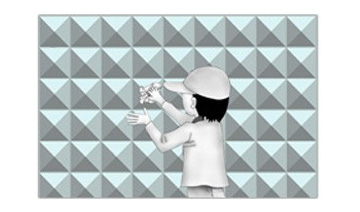
Stick the panels on the wall.
|
|
|
|
|
|
Press the panels to ensure firmness.
|
|
|
|
|
|
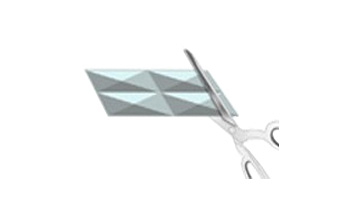
Cut the panels to size to fit a corner.
|
|
|
|
|
|
Fill the gap with acrylic sealant.
|
|
|
|
|
|
Clean the panels thoroughly.
|
|
| HOME |
|
Review |
How to Install |
Contact Us |
|
|
|
|
|
|
|
Top |
|